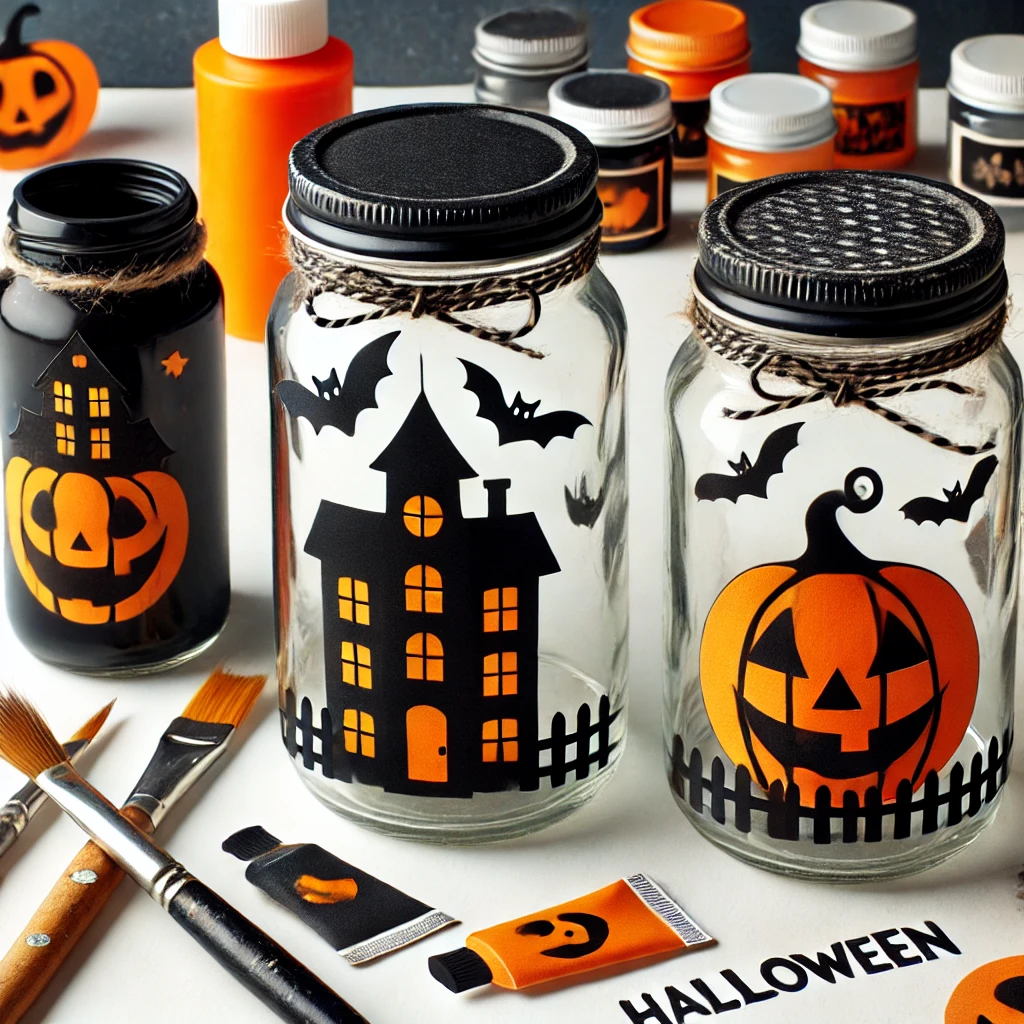
Halloween isn’t just for kids—it’s a perfect time for adults to embrace their creativity too! From haunting home décor to unique party favors, there are plenty of DIY Halloween crafts for adults that can make your spooky season memorable. Whether you’re hosting a ghostly get-together or simply sprucing up your home, these 25 Halloween crafts will add a touch of eerie elegance to your festivities.
So grab your crafting tools, unleash your inner artist, and get ready to dive into the world of ghoulishly delightful creations!
Table of Contents
- Spooky Mason Jar Lanterns
- Halloween Wreath
- Pumpkin String Art
- Glowing Ghosts
- Black Cat Pumpkins
- Wine Bottle Candlestick Holders
- Spider Web Doormat
- Haunted House Shadow Box
- Mummified Candle Holders
- Skull Planters
- Halloween Garland
- Floating Witch Hat Luminaries
- Pumpkin Succulent Centerpiece
- Halloween Potion Bottles
- Halloween Book Covers
- Creepy Candle Drips
- Ghostly Window Silhouettes
- Skeleton Hand Soap Dispenser
- Witch’s Broomstick Door Hanger
- Eyeball Wreath
- Pumpkin Terrarium
- Bat Branch Centerpiece
- Potion Jar Luminaries
- Spiderweb Table Runner
- Floating Candle Display
1. Spooky Mason Jar Lanterns
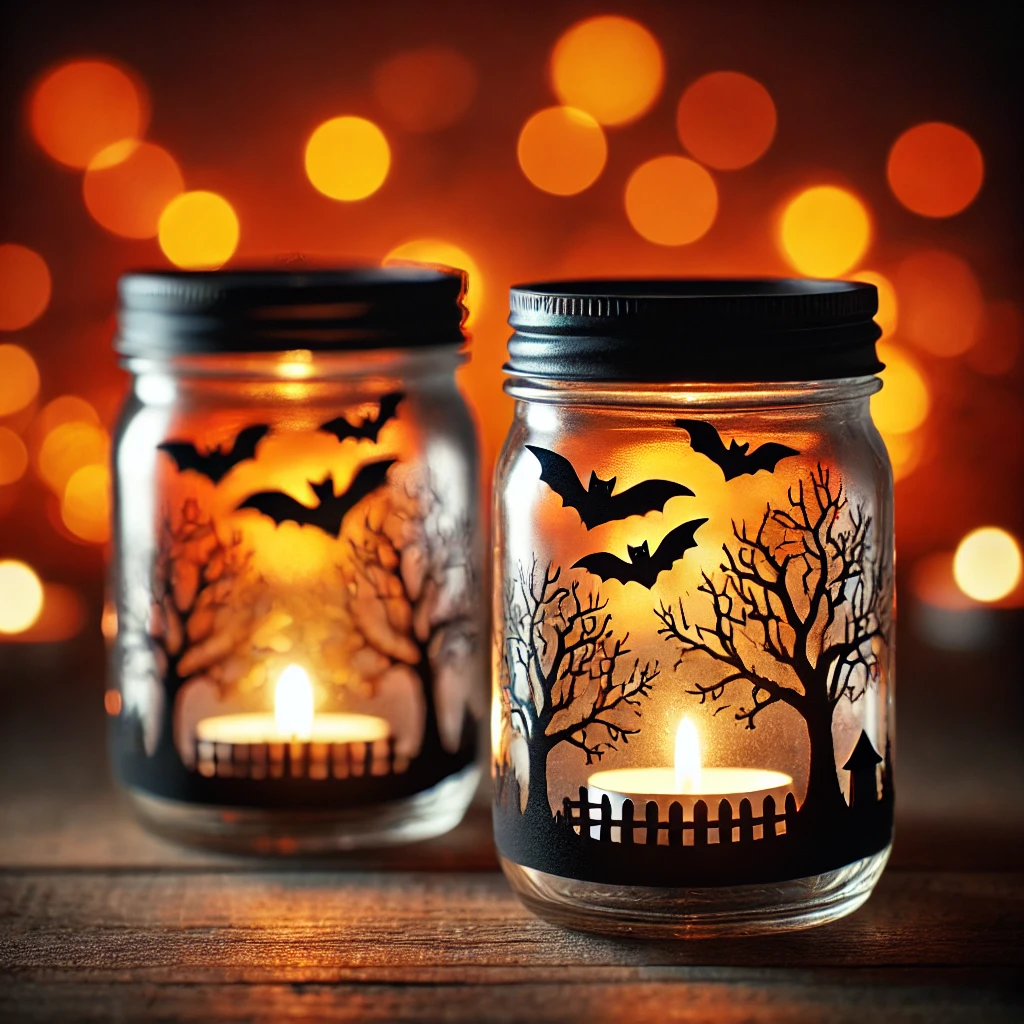
Materials:
- Mason jars
- Black acrylic paint
- Halloween-themed stencils (e.g., bats, witches, ghosts)
- Mod Podge
- Sponge brush
- Tea light candles (battery-operated)
Instructions:
- Clean and dry your mason jars thoroughly.
- Secure a Halloween stencil on the jar with tape.
- Use the sponge brush to paint over the stencil with black acrylic paint. Once dry, apply a layer of Mod Podge to seal it.
- Place a tea light candle inside, and watch your spooky lanterns come to life!
2. Halloween Wreath
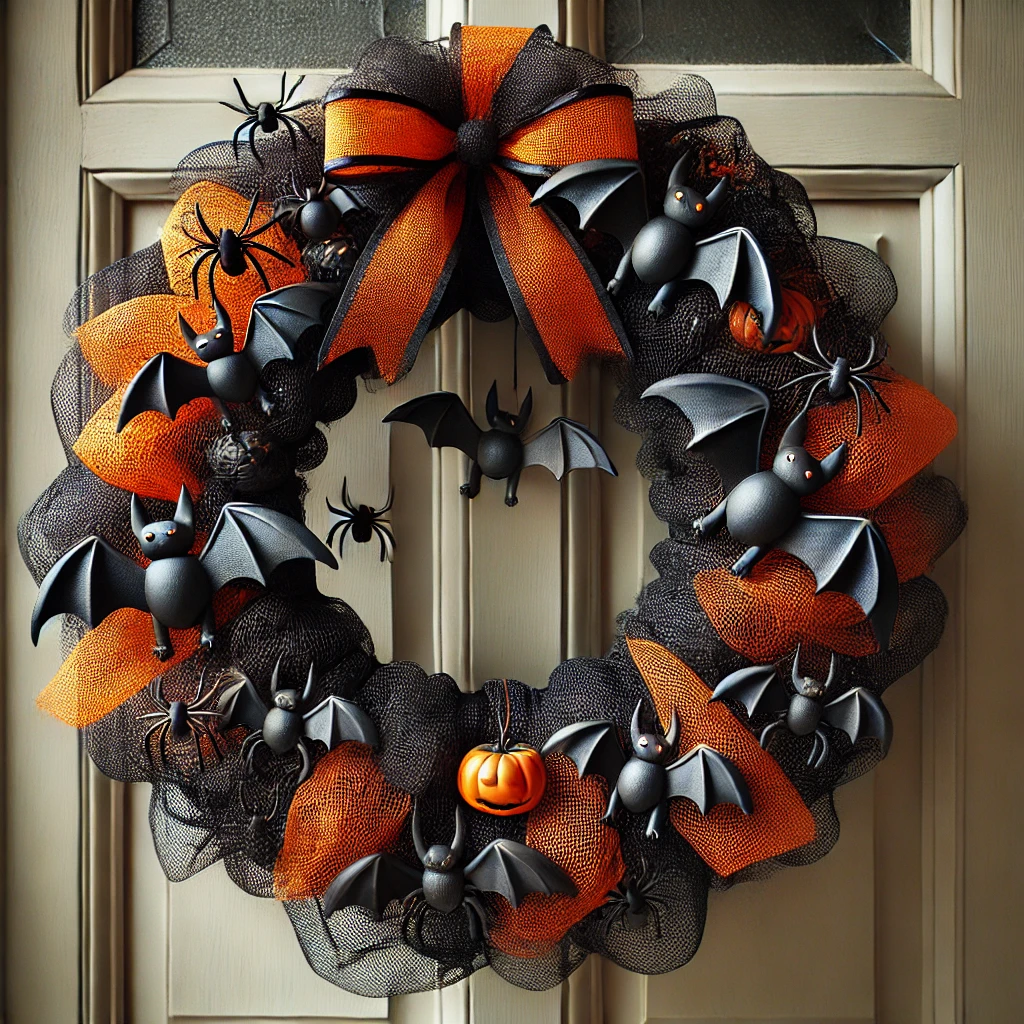
Materials:
- Foam wreath form
- Black tulle or mesh ribbon
- Hot glue gun
- Halloween decorations (spiders, bats, skulls)
- Ribbon for hanging
Instructions:
- Wrap the foam wreath with black tulle or mesh ribbon, securing it with hot glue.
- Attach Halloween decorations around the wreath with hot glue.
- Create a ribbon loop for hanging, and you’re ready to spook your guests with a bewitching entryway!
3. Pumpkin String Art
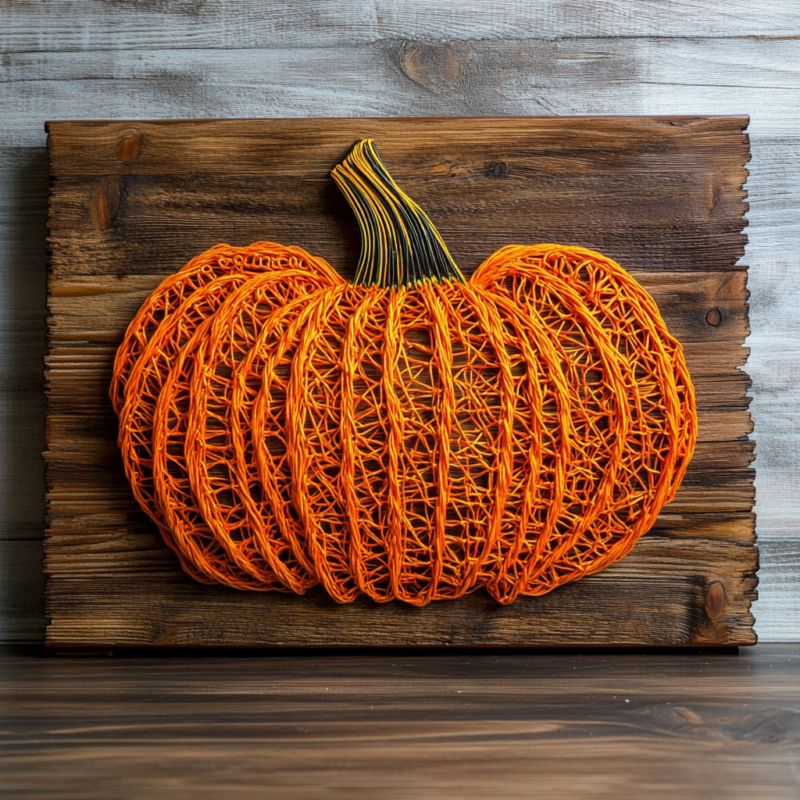
Materials:
- Wooden board
- Orange and green string or yarn
- Small nails
- Hammer
- Pumpkin template
Instructions:
- Trace the outline of a pumpkin on a wooden board.
- Hammer nails along the outline, spaced about half an inch apart.
- Tie the orange string to one nail and weave it back and forth across the nails to fill in the pumpkin shape. Use green string for the stem.
4. Glowing Ghosts
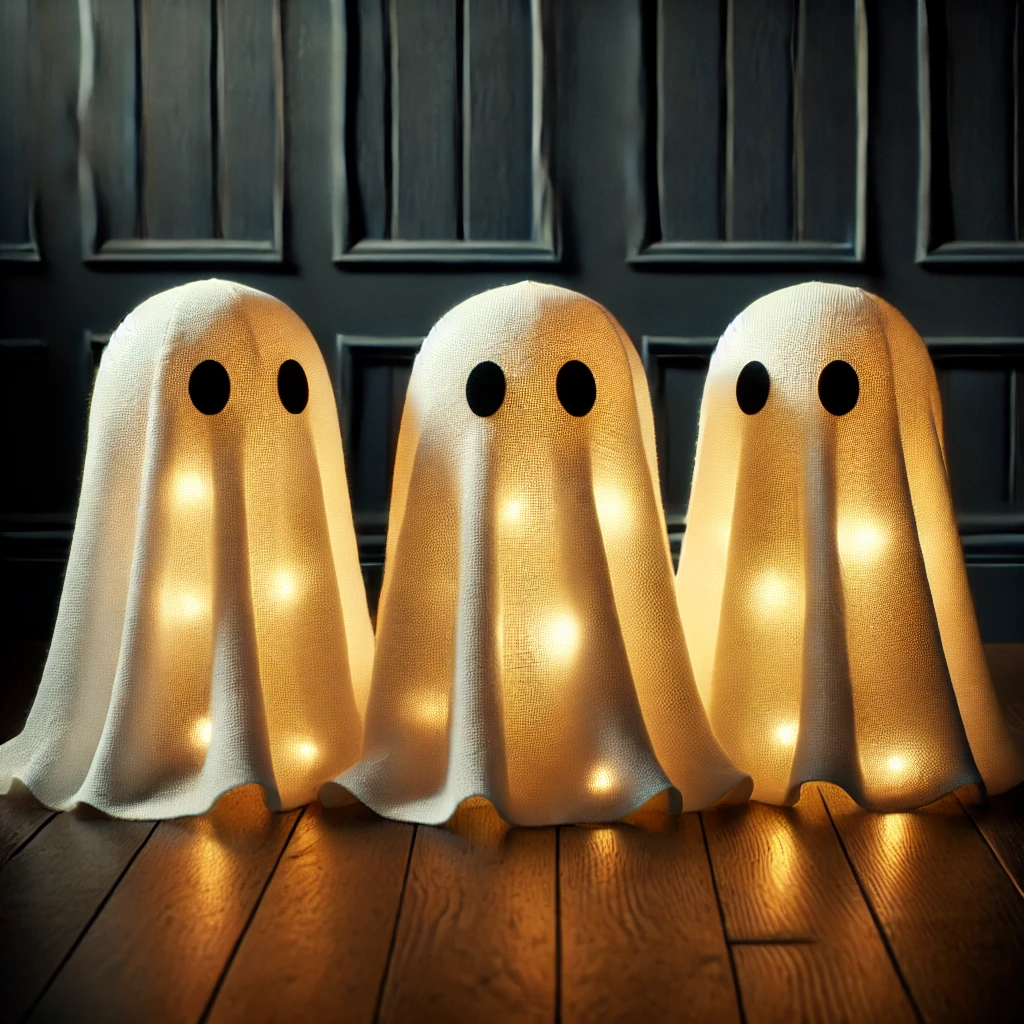
Materials:
- White fabric or cheesecloth
- Balloons
- Fabric stiffener
- Black felt
- Battery-operated LED lights
Instructions:
- Inflate balloons to your desired ghost size.
- Drape cheesecloth over the balloon and apply fabric stiffener. Once dry, pop the balloon.
- Attach black felt eyes and place an LED light inside for a ghostly glow!
5. Black Cat Pumpkins
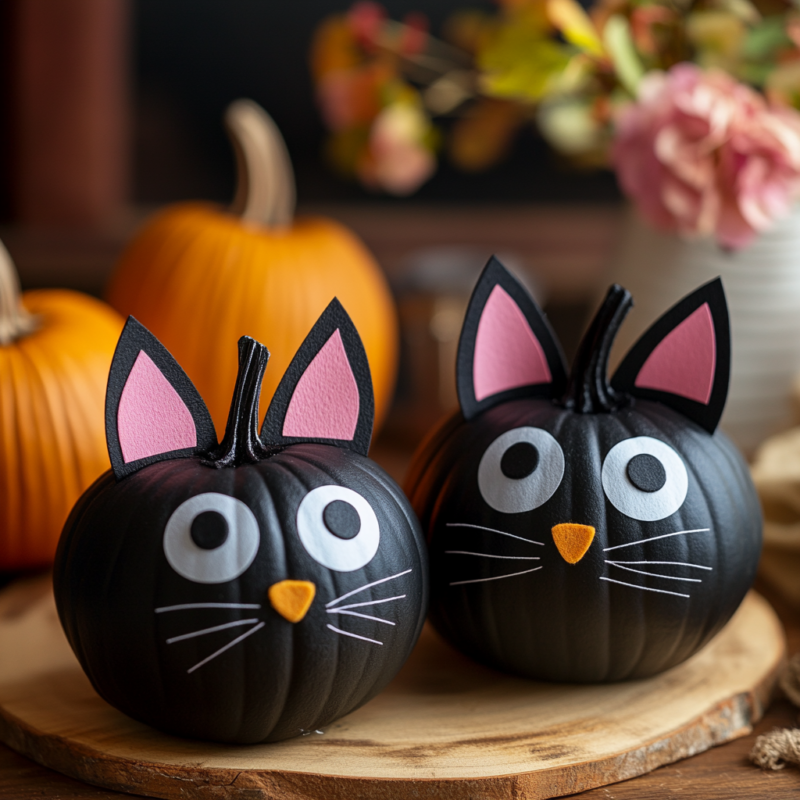
Materials:
- Small pumpkins
- Black spray paint
- Black felt
- Hot glue gun
- Googly eyes
Instructions:
- Spray paint your pumpkins black.
- Cut out ears and a tail from the black felt and glue them to the pumpkin.
- Finish with googly eyes and a felt nose for an adorably spooky decoration.
6. Wine Bottle Candlestick Holders
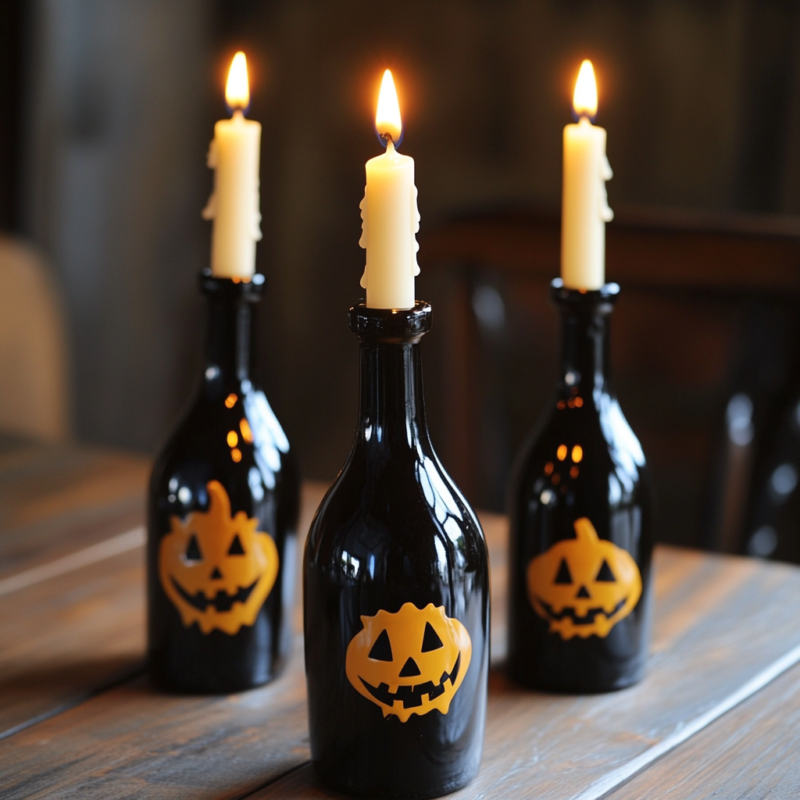
Materials:
- Empty wine bottles
- Black spray paint
- Taper candles
- Halloween decals or stickers
Instructions:
- Clean wine bottles and spray paint them black.
- Apply Halloween decals to the bottles and place taper candles inside for an elegant, spooky effect.
7. Spider Web Doormat
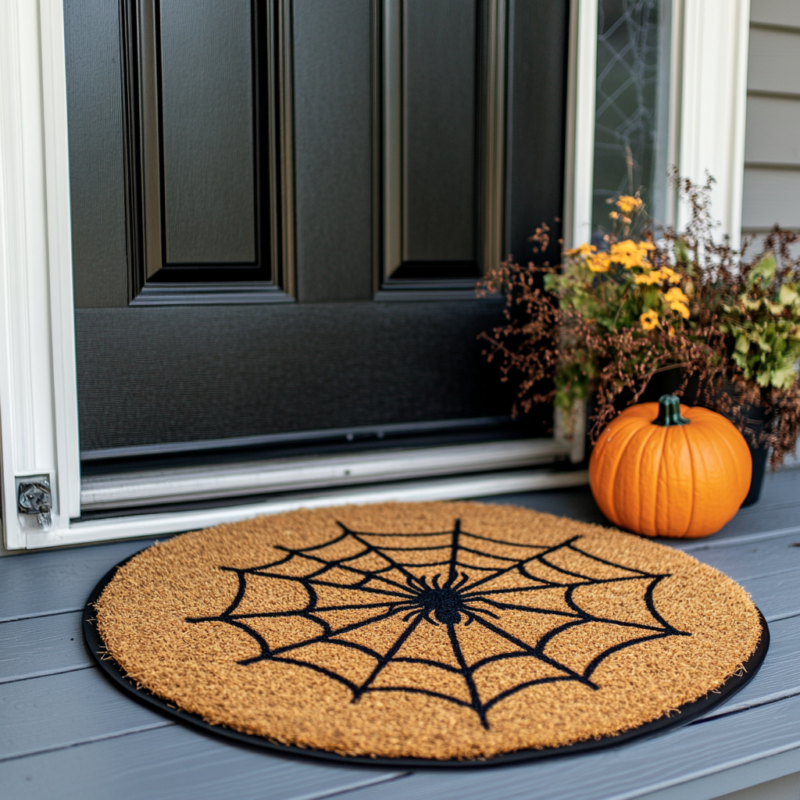
Materials:
- Plain coir doormat
- Black spray paint
- Spider web stencil
- Painter’s tape
Instructions:
- Secure a spider web stencil on the coir doormat with tape.
- Spray paint the stencil and allow it to dry for a personalized, eerie welcome mat.
8. Haunted House Shadow Box
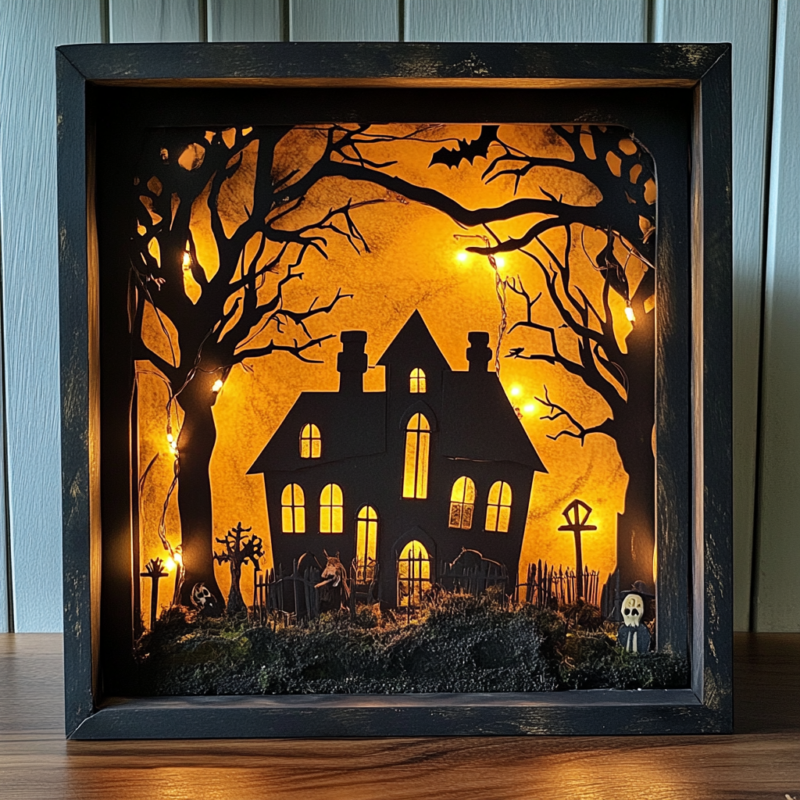
Materials:
- Shadow box frame
- Black cardstock
- LED string lights
- Halloween-themed miniatures (gravestones, trees)
Instructions:
- Cut a haunted house silhouette from black cardstock and insert it into the shadow box.
- Place LED lights behind the silhouette for a glowing haunted effect, and decorate the inside with spooky miniatures.
9. Mummified Candle Holders
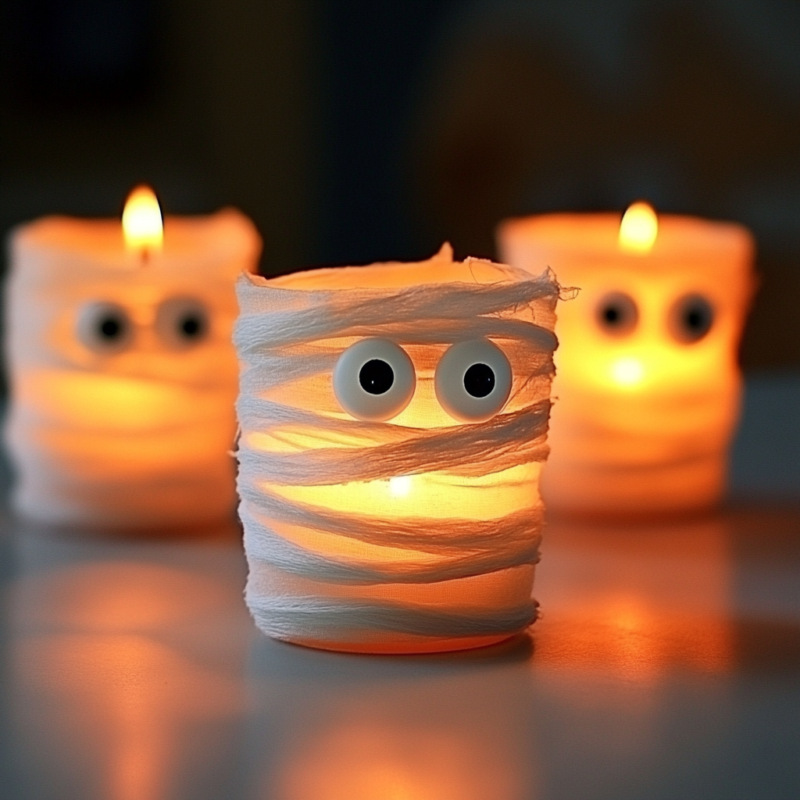
Materials:
- Glass jars or candle holders
- Gauze or white medical tape
- Googly eyes
Instructions:
- Wrap glass jars in gauze, leaving small gaps for a mummy look.
- Attach googly eyes and place a candle inside for a glowing mummy effect.
10. Skull Planters
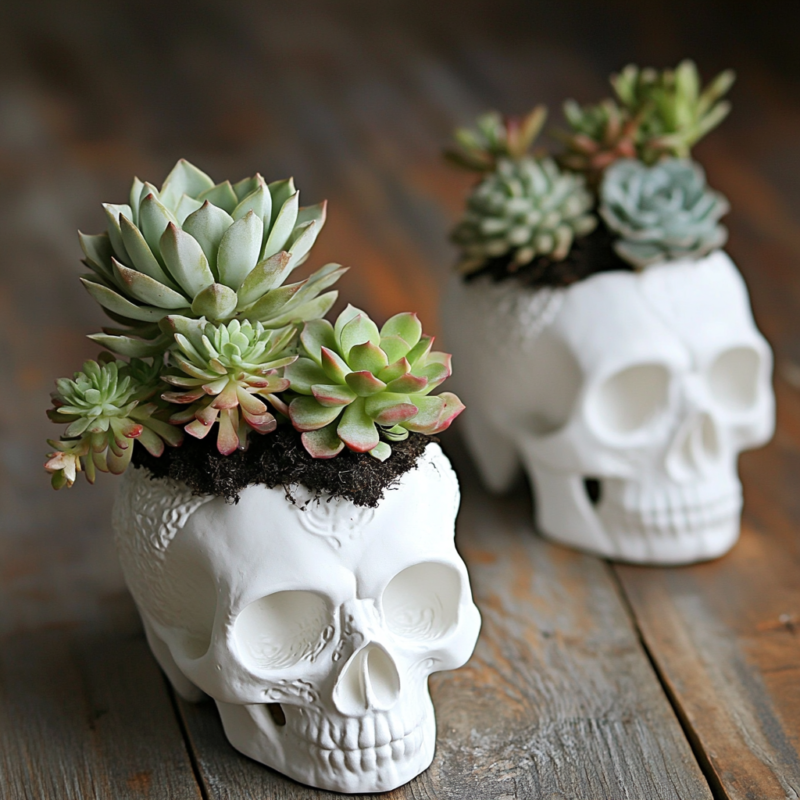
Materials:
- Plastic skulls
- Succulents or air plants
- Potting soil
Instructions:
- Cut an opening in the top of a plastic skull.
- Fill with soil and place your succulent or air plant inside. Perfect for an eerie yet stylish centerpiece!
11. Halloween Garland
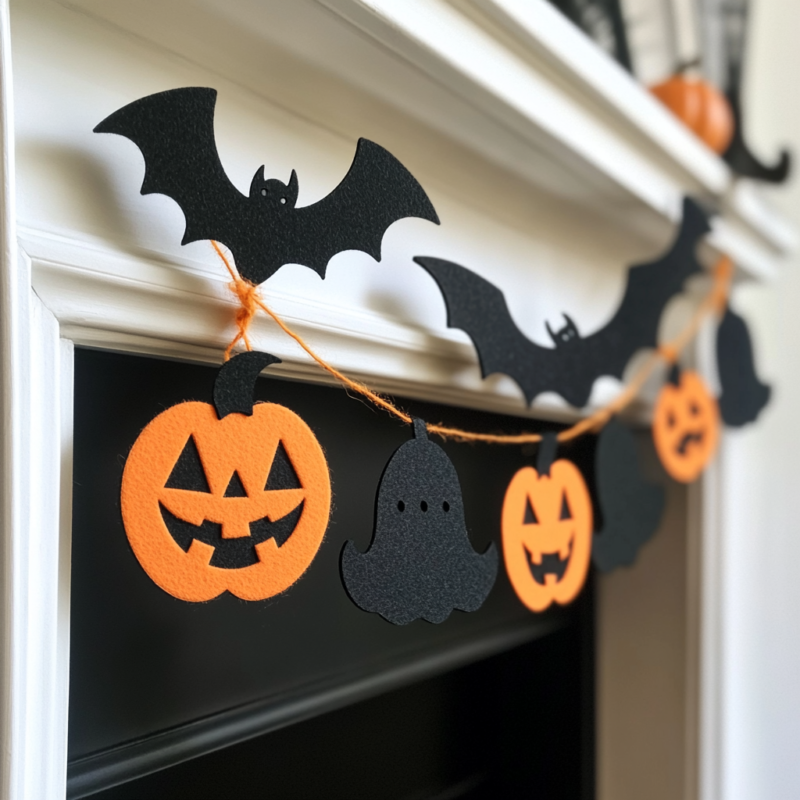
Materials:
- Black and orange felt
- String or twine
Instructions:
- Cut out Halloween-themed shapes from felt (bats, pumpkins, ghosts).
- Attach them to a string with hot glue, and hang it across doorways or windows for a festive touch.
12. Floating Witch Hat Luminaries
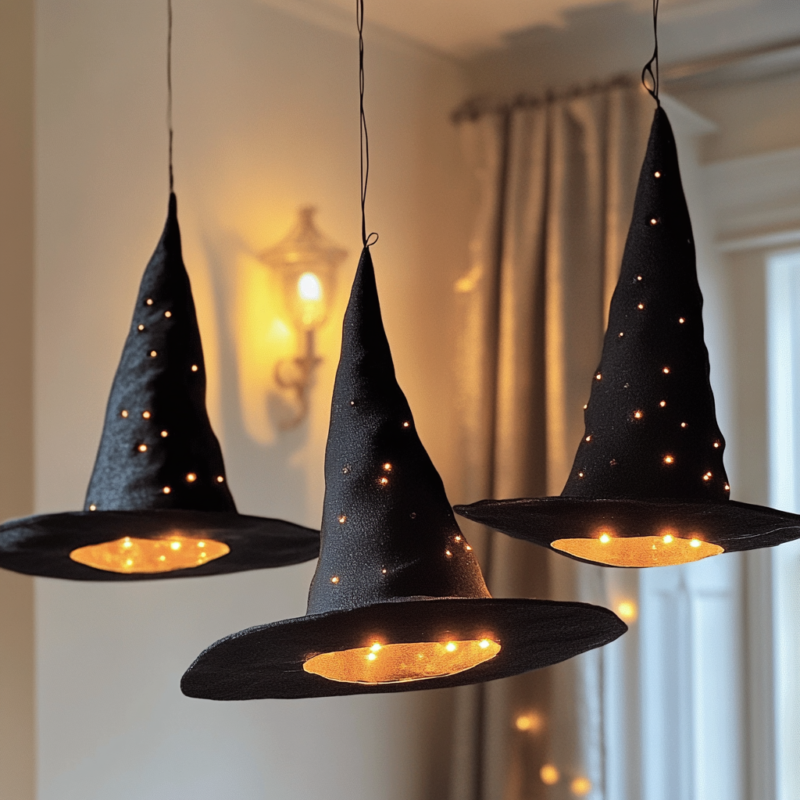
Materials:
- Black witch hats
- Fishing line
- Battery-operated LED lights
- Ceiling hooks
Instructions:
- Attach fishing line to the top of witch hats.
- Place LED lights inside and hang from the ceiling for an enchanting floating effect.
13. Pumpkin Succulent Centerpiece
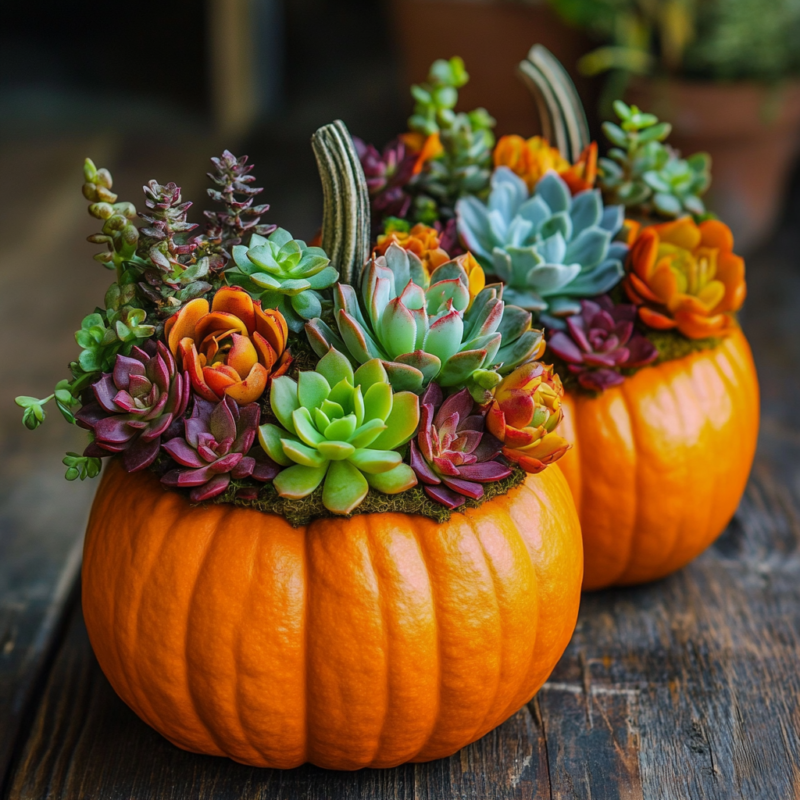
Materials:
- Small pumpkins
- Succulents
- Floral foam
Instructions:
- Hollow out a small pumpkin and insert floral foam.
- Arrange succulents on top for a charming, autumnal centerpiece.
14. Halloween Potion Bottles
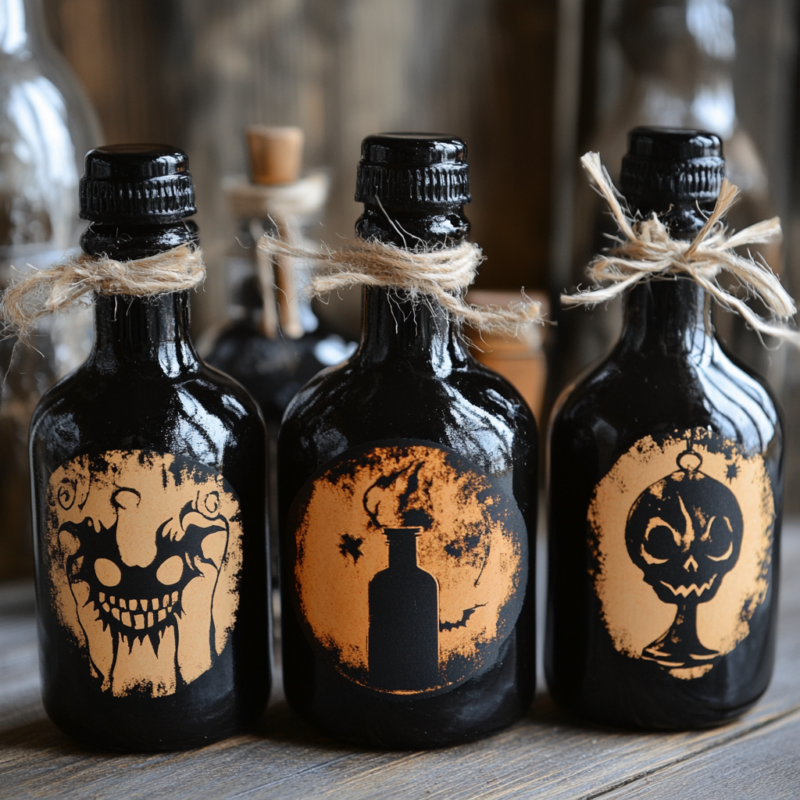
Materials:
- Empty glass bottles
- Black spray paint
- Halloween potion labels
Instructions:
- Spray paint the bottles black and attach spooky labels.
- Use them as eerie decorations for a haunted house vibe.
15. Halloween Book Covers
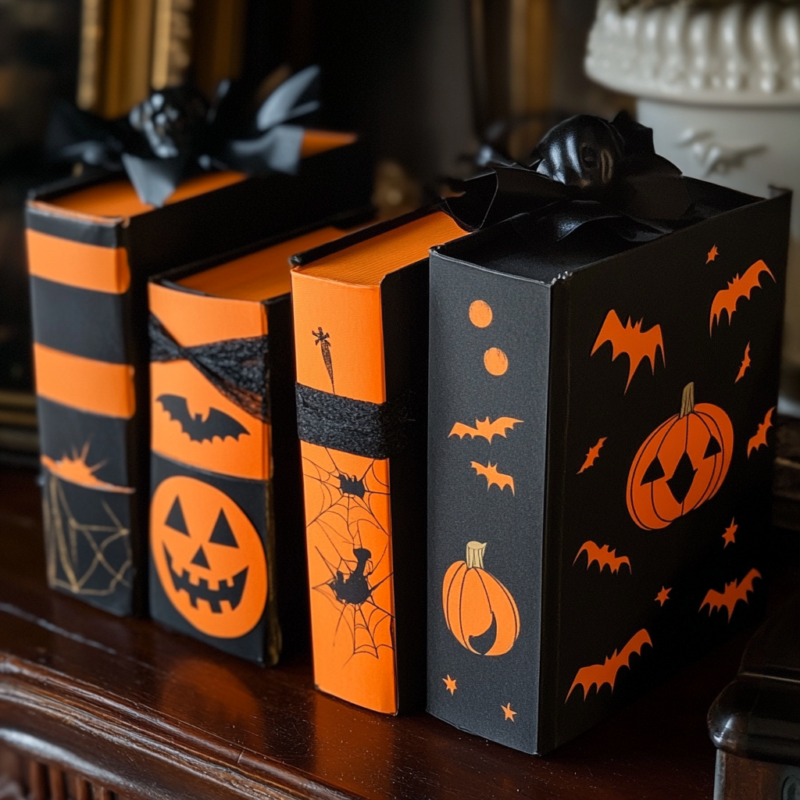
Materials:
- Old books
- Halloween-themed stickers or printables
Instructions:
- Cover old books with black and orange construction paper.
- Decorate with Halloween stickers or printables, and stack them for a spooky, literary display.
16. Creepy Candle Drips
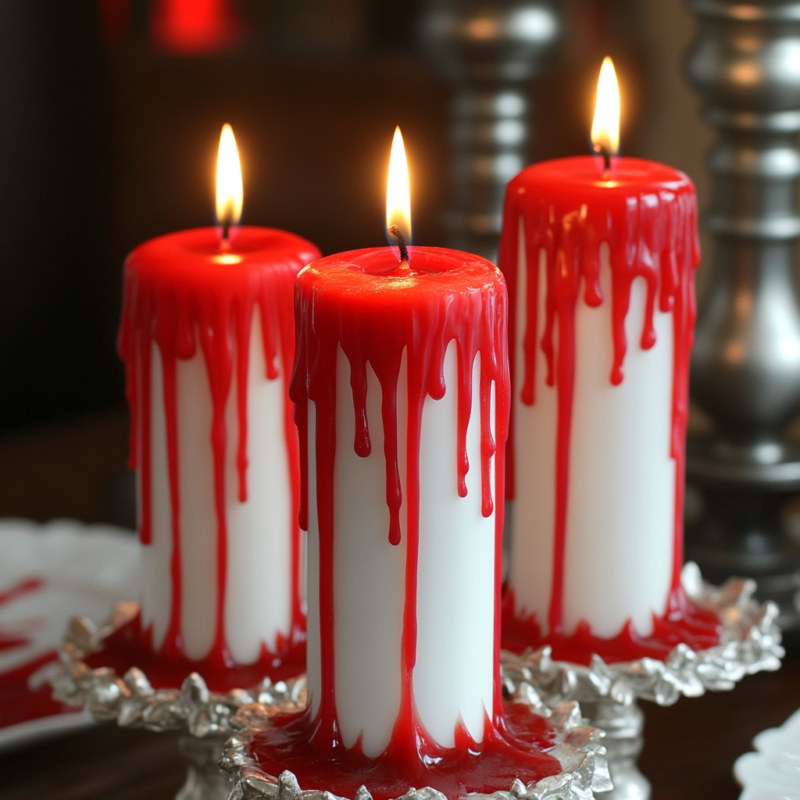
Materials:
- White candles
- Red wax or crayon
Instructions:
- Melt red wax and drip it over white candles for a “blood-dripping” effect.
17. Ghostly Window Silhouettes
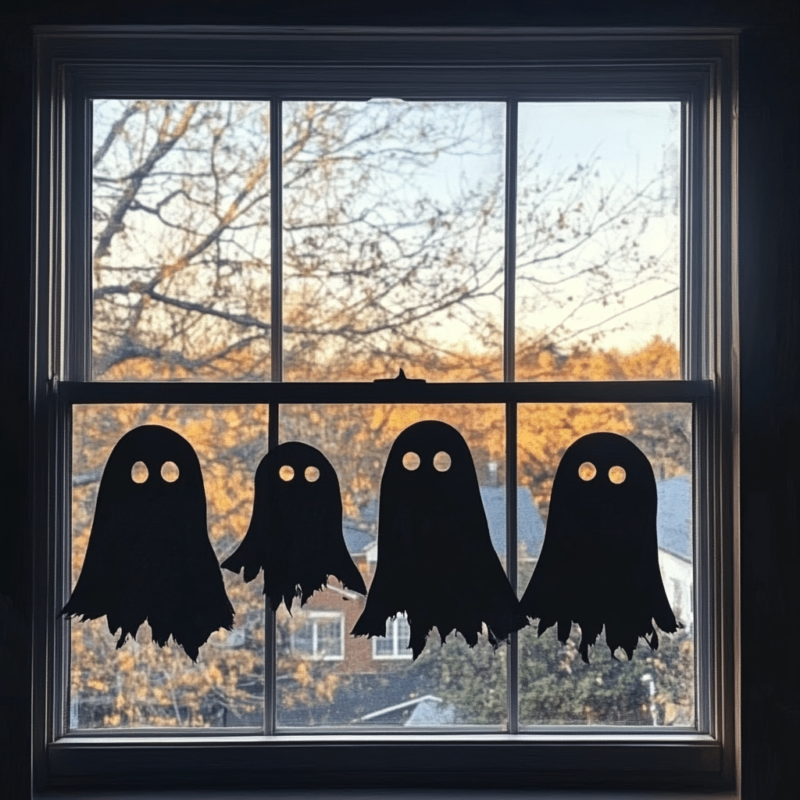
Materials:
- Black construction paper
- Chalk
- Scissors
Instructions:
- Cut out ghost shapes from black construction paper.
- Attach them to windows for a haunting silhouette effect.
18. Skeleton Hand Soap Dispenser
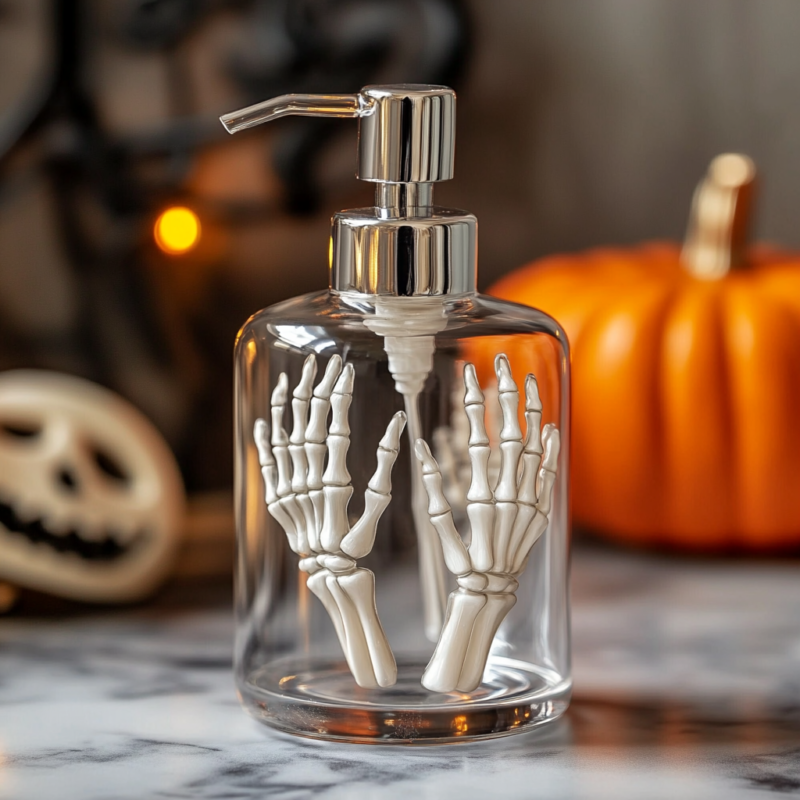
Materials:
- Clear soap dispenser
- Plastic skeleton hands
Instructions:
- Fill the dispenser with spooky-colored liquid soap and drop skeleton hands inside for a gory bathroom accessory.
19. Witch’s Broomstick Door Hanger
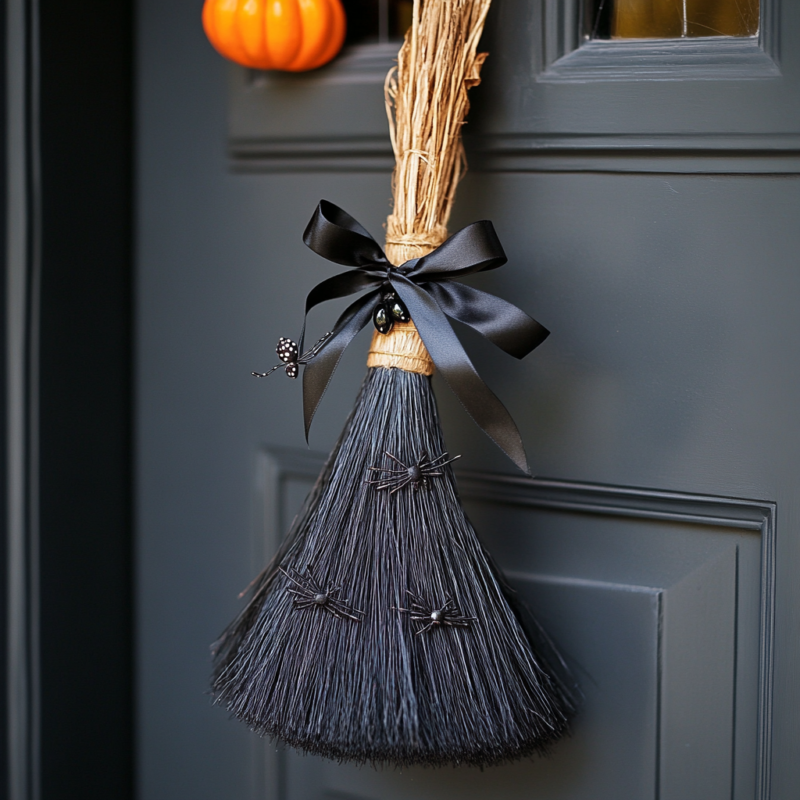
Materials:
- Small broom
- Black ribbon
- Halloween ornaments
Instructions:
- Decorate a broomstick with Halloween-themed ornaments and hang it on your door.
20. Eyeball Wreath
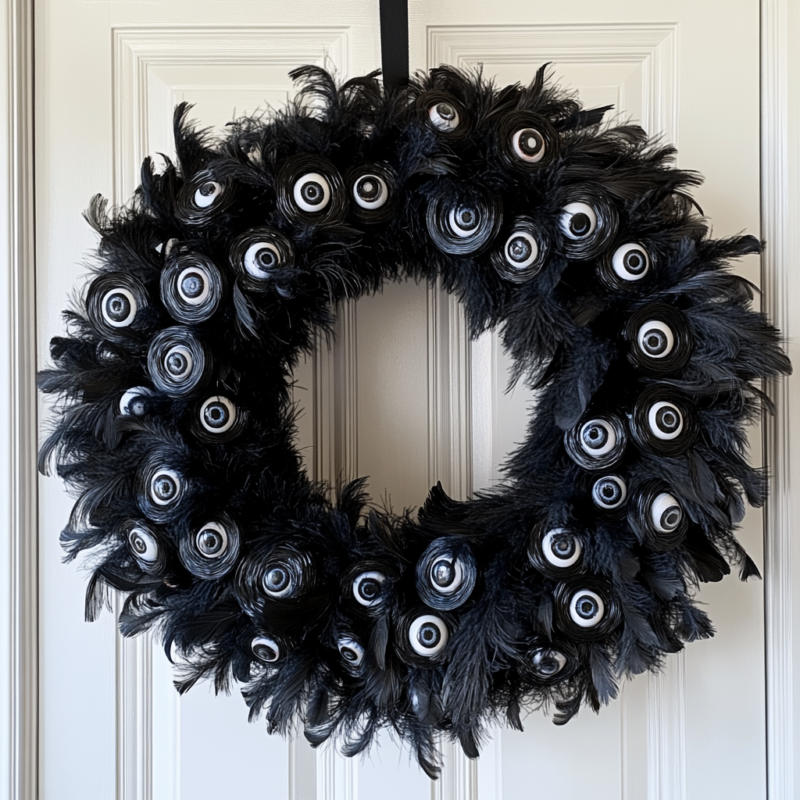
Materials:
- Foam wreath form
- Black feather boa
- Plastic eyeballs
Instructions:
- Wrap the foam wreath with a black feather boa and glue on plastic eyeballs for a creepy, staring wreath.
21. Pumpkin Terrarium
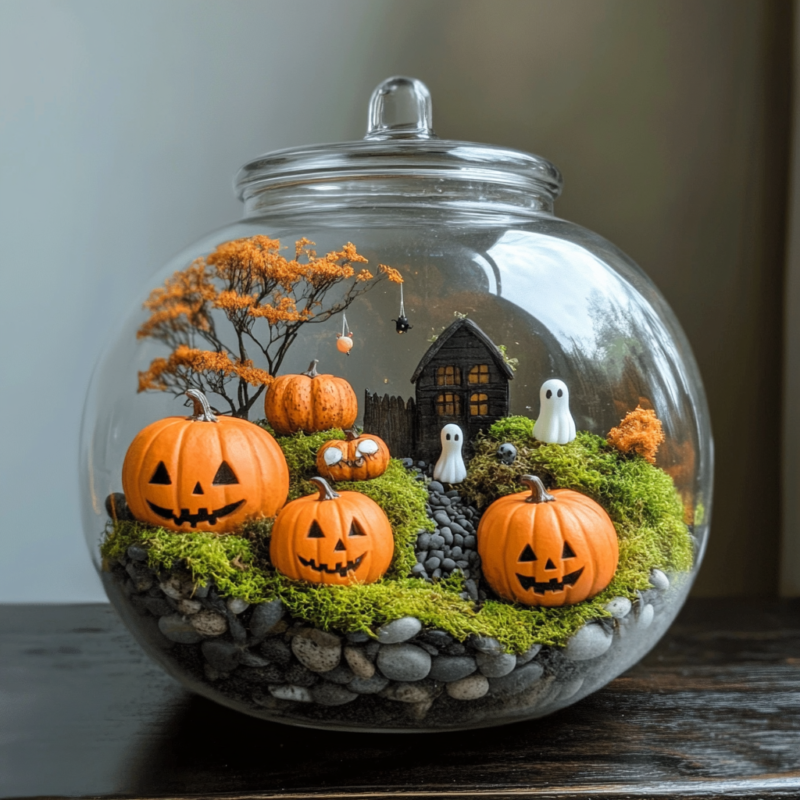
Materials:
- Clear glass pumpkin jar
- Moss or faux grass
- Halloween miniatures
Instructions:
- Fill a clear glass jar with rocks, moss, and Halloween miniatures for a hauntingly chic terrarium.
22. Bat Branch Centerpiece
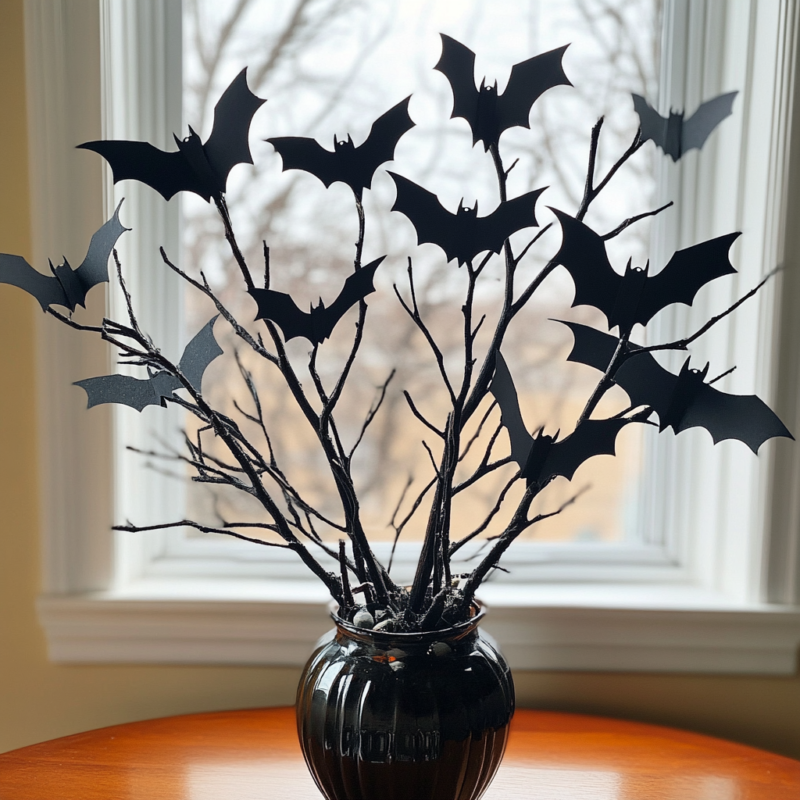
Materials:
- Bare branches
- Black construction paper bats
Instructions:
- Attach paper bats to branches and place them in a vase for an eerie centerpiece.
23. Potion Jar Luminaries
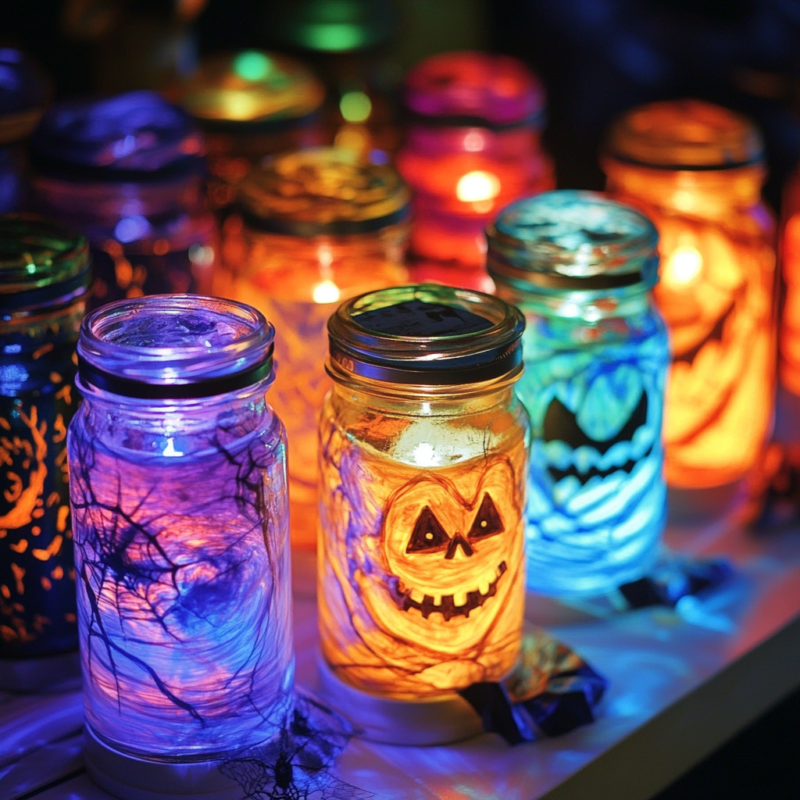
Materials:
- Glass jars
- Food coloring
- Tea lights
Instructions:
- Fill jars with colored water, drop in battery-operated lights, and label them as spooky potions.
24. Spiderweb Table Runner
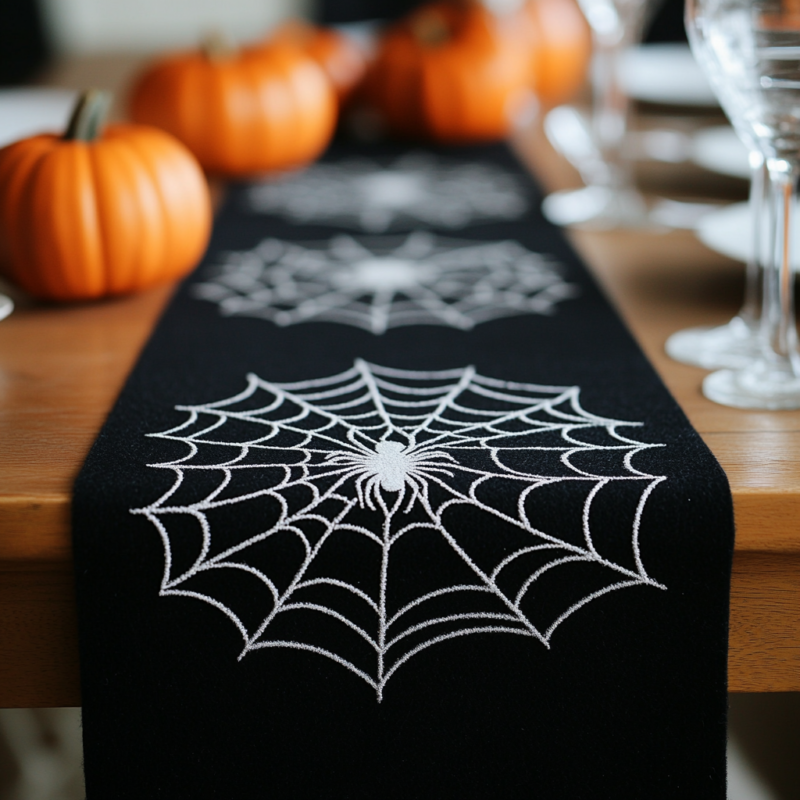
Materials:
- Black felt
- White fabric paint
Instructions:
- Paint spiderweb designs on black felt and use it as a stylish, spooky table runner.
25. Floating Candle Display
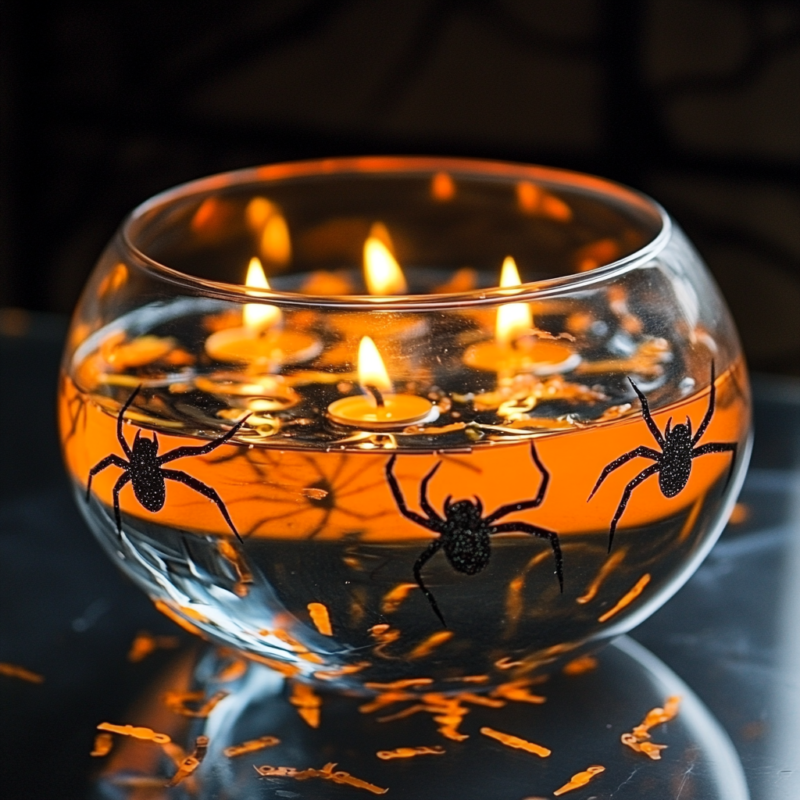
Materials:
- Glass bowl
- Floating candles
- Plastic spiders
Instructions for Creating a Floating Candle Display:
- Fill the Bowl or Vase with Water:
- Choose a clear glass bowl or vase of any size to suit your table or room.
- Fill it with water, leaving about an inch from the top to prevent overflowing once the decorations and candles are added.
- Add Floating Candles:
- Place floating candles on the surface of the water, ensuring they’re evenly spaced out for a balanced look.
- Make sure the candles are steady on the water’s surface so they will float properly once lit.
- Decorate with Plastic Spiders or Halloween Confetti:
- Sprinkle small plastic spiders or themed Halloween confetti (like bats, ghosts, or pumpkins) into the water for added spooky decoration. These should float or settle near the bottom, depending on their material.
- Adjust the decorations so they’re visible but don’t block the candles.
- Light the Candles:
- Once everything is in place, carefully light the floating candles for an enchanting and eerie glow.
- Make sure the candles are securely floating to avoid wax dripping into the water.
- Display as a Centerpiece:
- Place the floating candle arrangement in the center of your dining table, mantel, or other display area to set a hauntingly beautiful ambiance.
- The reflection of the candles on the water, combined with the spooky accents, creates a perfect Halloween vibe.
Halloween isn’t just for kids—sometimes adults want to have a little spooky fun too! These easy-to-make floating candle centerpieces are perfect for bringing a touch of haunting elegance to your festivities. Whether you’re hosting a Halloween party or just want to enjoy some crafty creativity, these DIY projects will help set the perfect tone for the season!
